

Overview
Zamp will assist with every part of the installation on your Business Central account. You can follow along with the steps here, but you will always have a Zamp Integrations Implementation expert on a live call handling the installation.
Prerequisites
Installation Process
1
Installing the Zamp Extension
- In the Business Central search bar, look for** Microsoft AppSource Apps.**
- Search for Zamp, and click Acumens Zamp API for D365 BC.
- Click Install and accept the permissions access request.
The installation may take about 5-minutes.
2
Changing to the Acumens User Role
- Click the icon at the top-right of Business Central.
- Under Role, update the role to Acumens e-Tax.
3
Entering your API Key
- Search for Zamp APIs and allow the configuration to load (~15-seconds).
- Click ZAMP01.
- Under API TOKEN, enter your Sandbox or Production API Key.
4
Syncing Nexus States and Testing the Connection
- Search for Nexus States.
- Click Home.
- Click Sync Zamp Registrations.
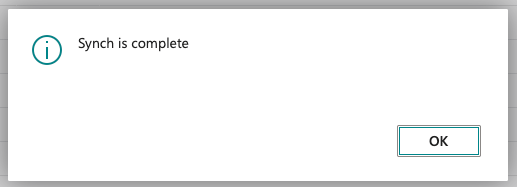
- Once the sync is complete, you will see the following.
5
Configuring Transaction Posting Behavior
The integration allows for the flexibility to post transactions in real-time, or on a cadence. It also allows for every invoice to be uploaded as an individual transaction, or invoices for the same customer to be batched together.
- Search for Acumens e-Tax Enterprise Setup.
- Scroll down to Uploads (Auto-File).
- Toggle between Upload Individual Documents or Upload Summarized Documents.
- Upload Individual Documents: Every invoice is a transaction in Zamp. Not batched.
- Upload Summarized Documents: Invoices for the same customer will be aggregated to be a single transaction in Zamp each time an upload is attempted.
- Under Background Uploads, enable Upload on Post to post transactions when invoices are posted (i.e. Real-time).